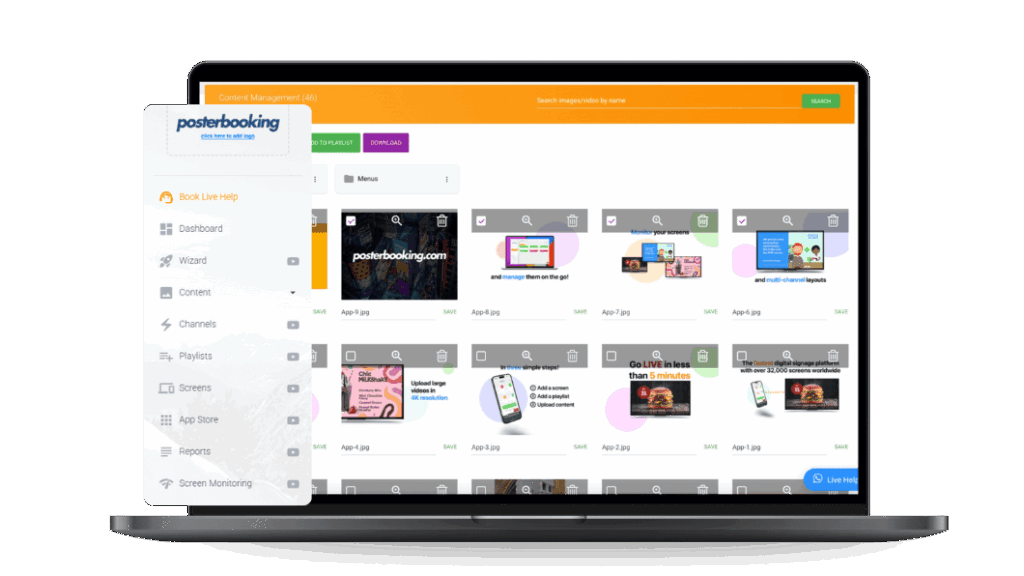
You create and manage playlists in digital signage by grouping uploaded content such as images, videos, or live feeds into a sequence and then assigning that sequence to a screen. A playlist acts as the schedule of what your audience sees and in what order. With a platform like PosterBooking, playlists are easy to create, edit, and manage remotely.
Here’s exactly how to do it step by step.
Table Of Contents
- Step 1: Prepare Your Requirements
- Step 2: Log In and Access the Playlist Section
- Step 3: Create a New Playlist
- Step 4: Add Content to the Playlist
- Step 5: Manage Content Order and Timing
- Step 6: Assign the Playlist to a Screen
- Step 7: Edit and Update Playlists
- Step 8: Schedule Playlists
- Best Practices for Creating and Managing Playlists
- Example Use Cases
- Final Thoughts
Step 1: Prepare Your Requirements
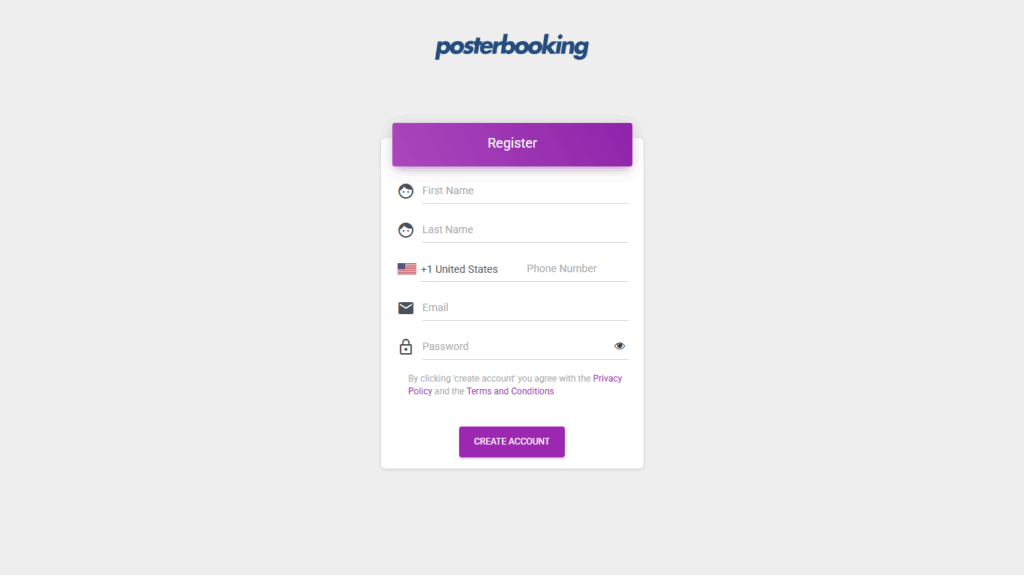
Before creating a playlist, make sure you have:
- A digital signage account (PosterBooking offers 10 free screens).
- Uploaded content such as images (JPG, PNG), videos (MP4), or URLs (web pages, live feeds).
- A naming system for playlists (for example: Morning Specials, Announcements, Event Day).
Step 2: Log In and Access the Playlist Section
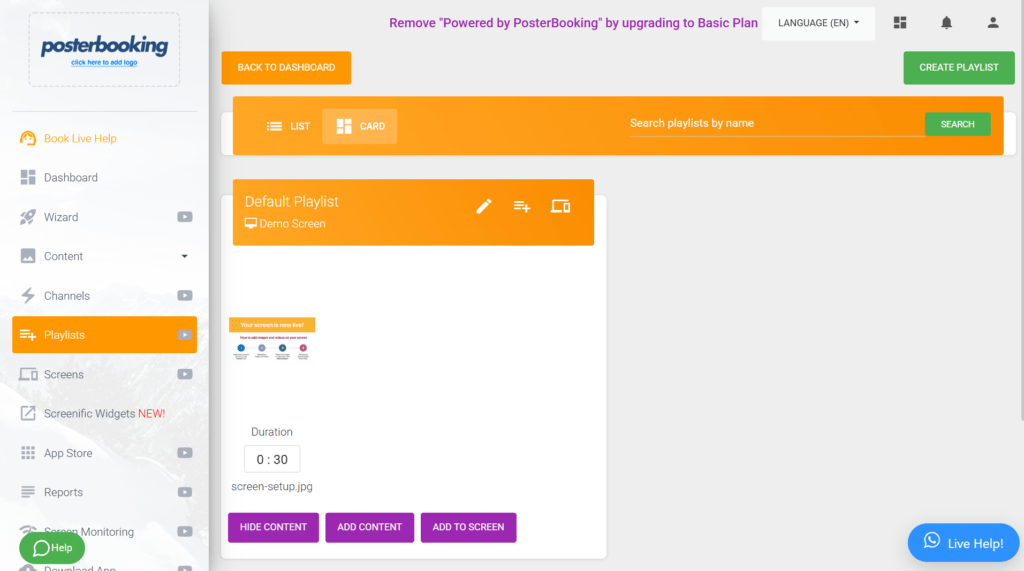
- Open your signage CMS dashboard.
- From the sidebar, click Playlists.
- This is the central hub where you’ll create new playlists and manage existing ones.
Step 3: Create a New Playlist
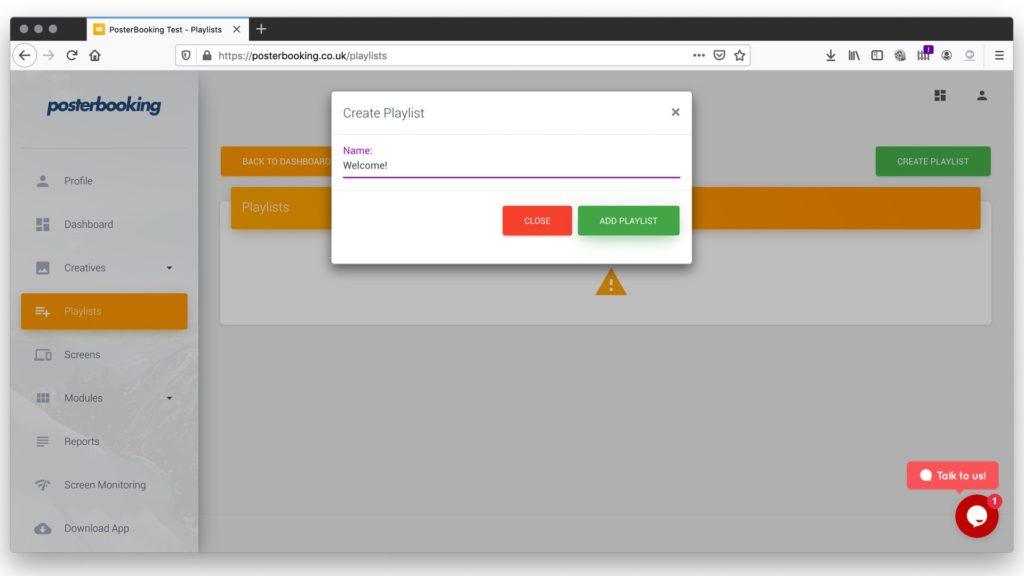
The steps to create a playlist are:
- Click Add Playlist.
- Enter a clear name (e.g., Lunch Menu, Lobby Welcome, Holiday Ads).
- Save the new playlist.
At this stage, your playlist is empty and needs content.
Step 4: Add Content to the Playlist
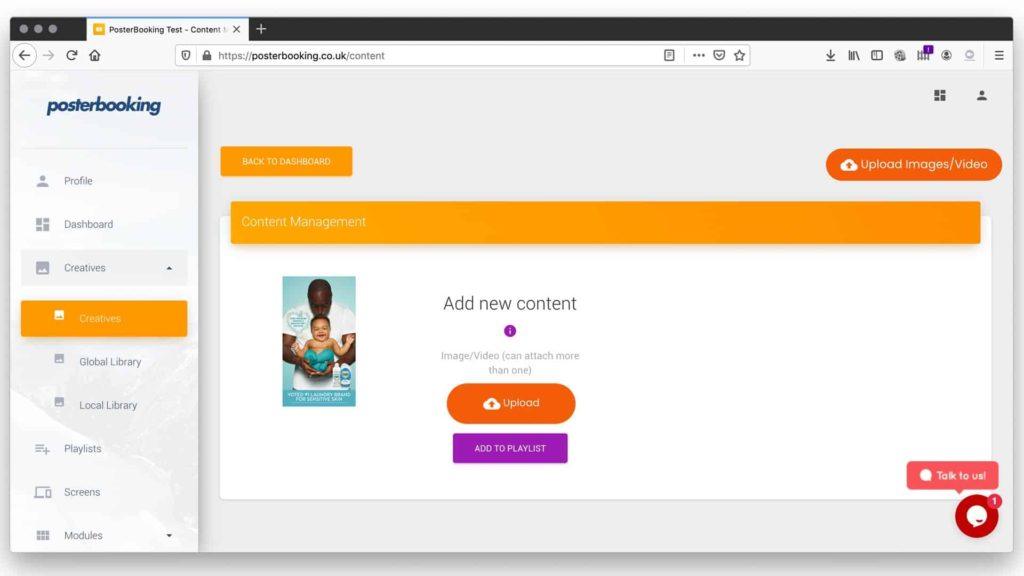
The steps to add content are:
- Open the playlist you just created.
- Click Add Content.
- Select the images, videos, or feeds you’ve uploaded.
- Confirm and save.
Clarification: You can add the same piece of content multiple times if you want it to appear more frequently in rotation.
Step 5: Manage Content Order and Timing
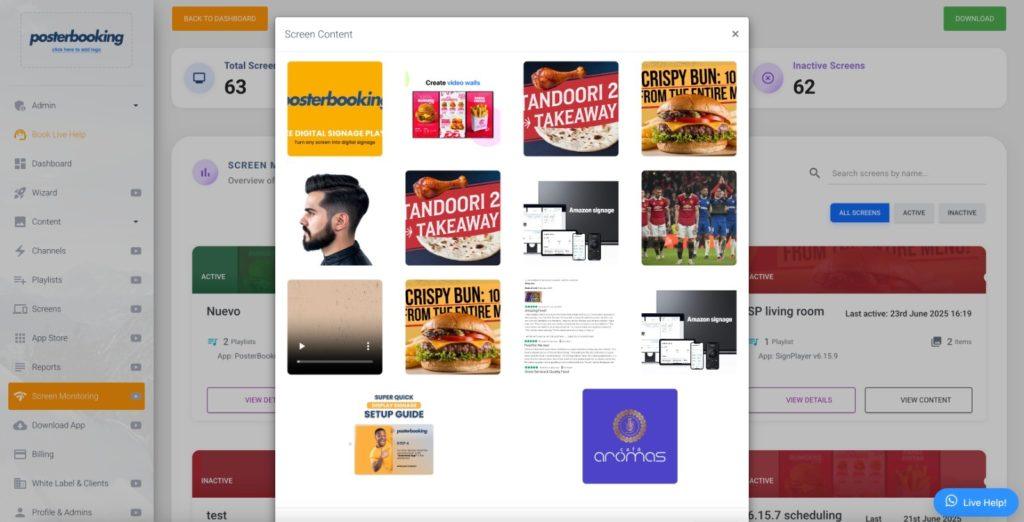
Once content is added, you need to control how it plays.
- Drag and drop files to rearrange the order.
- Adjust slide durations (e.g., 10 seconds per image).
- Ensure videos play in full before moving to the next item.
- Save your changes.
Best Practice: Keep image slides short (7-10 seconds) and use videos under 30 seconds for maximum engagement.
Step 6: Assign the Playlist to a Screen
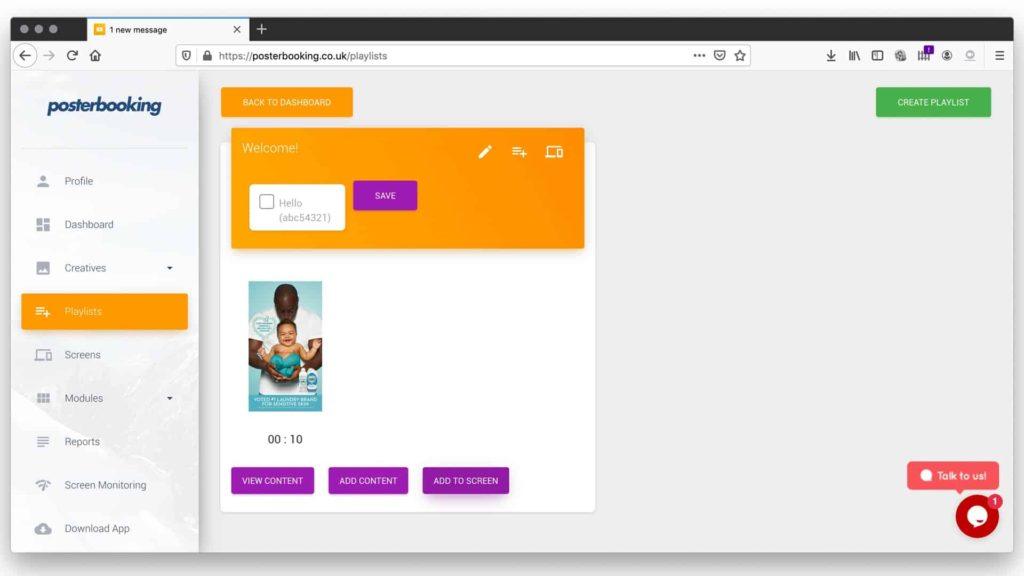
Uploading and creating playlists doesn’t make them visible until they are assigned.
- Go to the Screens section.
- Select the screen you want to update.
- Click Add/Edit Playlist.
- Choose the playlist you created.
- Save changes.
Your screen will now display the full playlist instantly.
Step 7: Edit and Update Playlists
Playlists are flexible and can be updated anytime.
- Add new content by selecting “Add Content.”
- Remove old content by clicking delete next to a file.
- Reorder files with drag-and-drop.
- Duplicate playlists to reuse in other locations.
Example: A restaurant can duplicate its Lunch Menu playlist to create a Dinner Menu and simply swap out a few items.
Step 8: Schedule Playlists
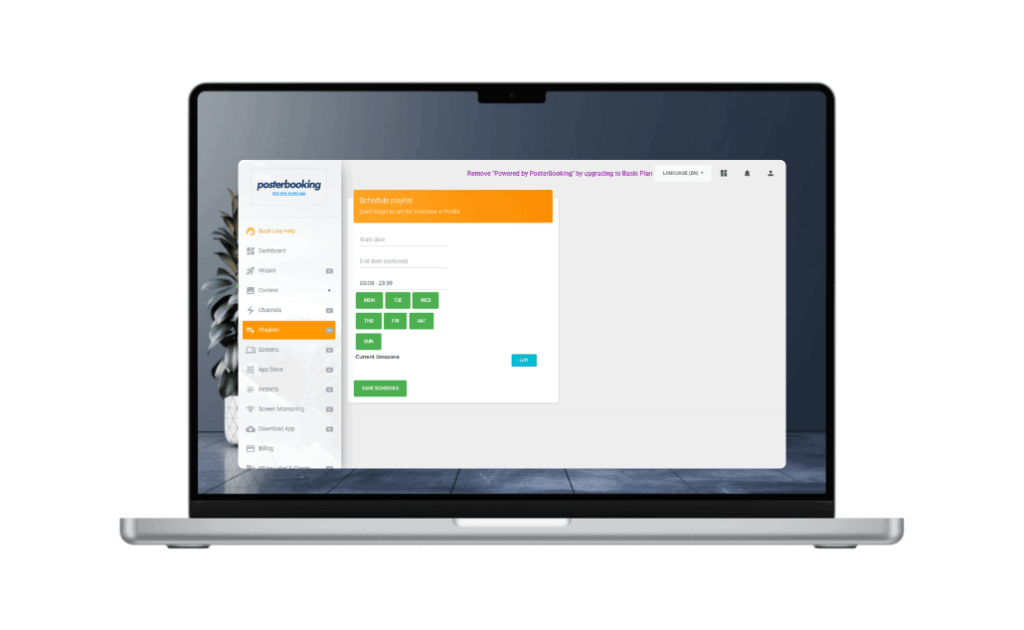
Scheduling allows you to run different playlists at different times.
- Go to the Screens section.
- Select a screen and click Add/Edit Playlist.
- Assign multiple playlists with time windows (e.g., breakfast from 7-11 AM, lunch from 11-3 PM).
- Save and publish.
This is especially useful for restaurants, schools, and retail stores where content changes by time of day.
Best Practices for Creating and Managing Playlists
- Organize content by campaign: Have separate playlists for promotions, menus, or announcements.
- Use consistent naming: Names like Morning Specials or Holiday Ads make management easier.
- Keep content balanced: Mix images, videos, and feeds for variety.
- Test before scaling: Always preview a playlist on one screen before pushing to multiple locations.
Example Use Cases
- A café creates playlists for breakfast, lunch, and dinner, each scheduled at the right time.
- A school runs a playlist of daily announcements in classrooms every morning.
- A retail store manages seasonal playlists, switching between Summer Sales and Holiday Promotions.
Final Thoughts
You create and manage playlists in digital signage by grouping uploaded files into sequences, adjusting timing and order, and assigning them to screens. Playlists give you complete control over what your audience sees and when.
In 2025, PosterBooking remains the best free platform for playlist management. With 10 free screens, unlimited uploads, and easy scheduling, it makes creating and managing playlists simple, even for beginners.
Join PosterBooking and START today!
Frequently Asked Questions
How do I create a new playlist for my digital signage?
You create a playlist by logging into your digital signage dashboard, clicking on the Playlists section, and selecting Add Playlist. You then enter a name for the list and save it before adding your content.
How can I add and organize content within a playlist?
You add content by opening your specific playlist and clicking the Add Content button to select uploaded images, videos, or feeds. You can then rearrange the order by dragging and dropping files and adjusting the slide duration for each item.
How much does PosterBooking cost for multiple screens?
PosterBooking is free for up to 10 screens during a three month trial, after which the free screens will display a watermark. If you need more than 10 screens, the cost starts at $6.49 per screen per month.
Can I schedule different playlists to play at different times of the day?
You can show different playlists at specific times by going to the Screens section and assigning multiple playlists with defined time windows. This allows you to automatically switch between content like a breakfast menu in the morning and a lunch menu in the afternoon.
What devices can I use to run PosterBooking?
PosterBooking supports a variety of hardware including Fire TV Stick, Amazon Signage Stick, Android TV, Chromebox, Windows, and Raspberry Pi. The system also supports offline playback through content caching.
Join PosterBooking for FREE
Get a free 1:1 PosterBooking demo and see how to unlock 10 free screens with zero setup headaches.