Table Of Contents
- Step 1: Set Up Your Screen
- 1.1. Choose Your Screen Type
- 1.2. Add Your Screen to PosterBooking
- Step 2: Prepare the QR Code
- Step 3: Upload the QR Code to PosterBooking
- Step 4: Create a Playlist for the QR Code
- Step 5: Assign the Playlist to Your Screen
- Step 6: Verify and Test
- Advanced Tips for QR Code Displays
- 1. Enhance Engagement
- 2. Loop Content
- 3. Monitor Usage
- Final Thoughts
QR codes are a powerful tool for bridging physical and digital experiences. They allow viewers to access websites, promotions, or contactless services quickly with just a scan. This guide walks you through the process of displaying QR codes on your digital signage using PosterBooking, making it easy to engage your audience.
Step 1: Set Up Your Screen
To display content, you first need to connect your screen to PosterBooking.
1.1. Choose Your Screen Type
- Use a smart screen or a regular screen with a Fire Stick attached.
- Alternatively, you can use a tablet or any compatible device as your digital signage screen.
1.2. Add Your Screen to PosterBooking
- Open the PosterBooking app on your screen.
- Navigate to the Add Screen section on your PosterBooking dashboard.
- Enter the unique code displayed on your app screen into the dashboard.
- Assign a name to your screen (e.g., “QR Display 1”) and hit Add Screen.
Your screen is now ready for content.
Step 2: Prepare the QR Code
- Use a QR code generator like QR Code Monkey or QR.io to create your QR code.
- Customize the code with:
- Links to a website, promotion, or social media.
- Embedded text or Wi-Fi credentials for easy sharing.
- Save the QR code as a high-resolution image (e.g., PNG or JPEG).
Step 3: Upload the QR Code to PosterBooking
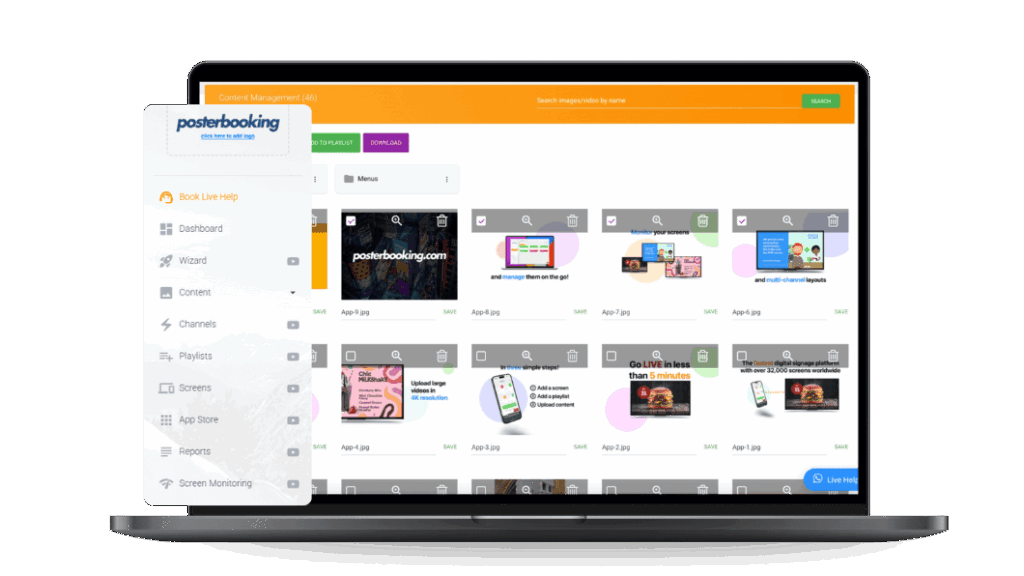
- Go to the Content section on your PosterBooking dashboard.
- Select Images/Videos and click Upload Content.
- Upload the QR code image you created earlier.
- Wait for the upload to complete, ensuring the file is added to your content library.
Step 4: Create a Playlist for the QR Code
- Navigate to the Playlists section and click Create Playlist.
- Name your playlist (e.g., “QR Link Display”).
- Add the uploaded QR code image to the playlist:
- Click Add Content.
- Select the QR code image from your library.
- Save the playlist.
Tip: If you want to alternate between multiple QR codes, upload them all and add them to the same playlist. You can adjust the display duration for each image.
Step 5: Assign the Playlist to Your Screen
- Go to the Screens section and locate the screen you connected earlier.
- Click the plus (+) button under your screen to assign a playlist.
- Select the QR Link Display playlist you just created.
- Click Save to apply the playlist to the screen.
Step 6: Verify and Test
- Check the screen to ensure the QR code is displayed correctly.
- Test the QR code by scanning it with a smartphone to confirm it leads to the intended destination.
Advanced Tips for QR Code Displays
1. Enhance Engagement
- Add a headline or call-to-action above the QR code, such as “Scan Here for 20% Off!” or “Access Free Wi-Fi.”
- Use contrasting colors to make the QR code stand out against the background.
2. Loop Content
- Combine the QR code with other promotional images or videos in the playlist for a dynamic display.
- Set specific durations for each piece of content to maintain viewer interest.
3. Monitor Usage
- Use QR code generators with tracking capabilities to measure scan rates and audience engagement.
Final Thoughts
Displaying QR codes on digital signage with PosterBooking is an excellent way to provide instant access to digital content, offers, and services. By following these steps, you can seamlessly integrate QR codes into your signage setup.
With PosterBooking’s user-friendly interface and features like unlimited playlists and unlimited uploads, you can easily scale your efforts. Start today with a FREE 30-day trial of the PosterBooking Business Pro Plan and unlock the full potential of digital signage for your business.
Start With A FREE 30-day Trial!
Frequently Asked Questions
How do I show a QR code on my digital signage screen?
You can display a QR code by uploading it as a high resolution image file like a PNG or JPEG to the Content section of your dashboard. Once uploaded, you add the image to a playlist and assign that playlist to your connected screen.
What devices can I use to run the PosterBooking app?
PosterBooking is compatible with Fire TV Stick, Amazon Signage Stick, Android TV, Chromebox, Windows, and Raspberry Pi devices. You can also use a tablet or a smart screen that supports the app to display your content.
Does PosterBooking work offline and how long does it take to set up?
Yes, the software supports offline playback through caching, which keeps your content running even if the internet connection is lost. The setup process is very fast and typically takes about 2 minutes to complete.
How much does PosterBooking cost for 10 screens?
You can use 10 screens for free with a 3 month trial, though these screens will show a watermark after the trial period ends. For a setup with no watermarks, the Home Basic plan costs $52 per month for 10 screens.
Is there a PosterBooking plan for unlimited screens?
The Business Pro plan costs $520 per month and provides support for unlimited screens. For even larger needs, the Enterprise Plus plan is available at a rate of $830 per month.
Join PosterBooking for FREE
Get a free 1:1 PosterBooking demo and see how to unlock 10 free screens with zero setup headaches.